The work of real drawing begins with drawing lines, circles, experimenting with colors and the use of space. It is best at this stage to encourage free form drawing and the larger the space provided the better. With this in mind here are some suggested activities:
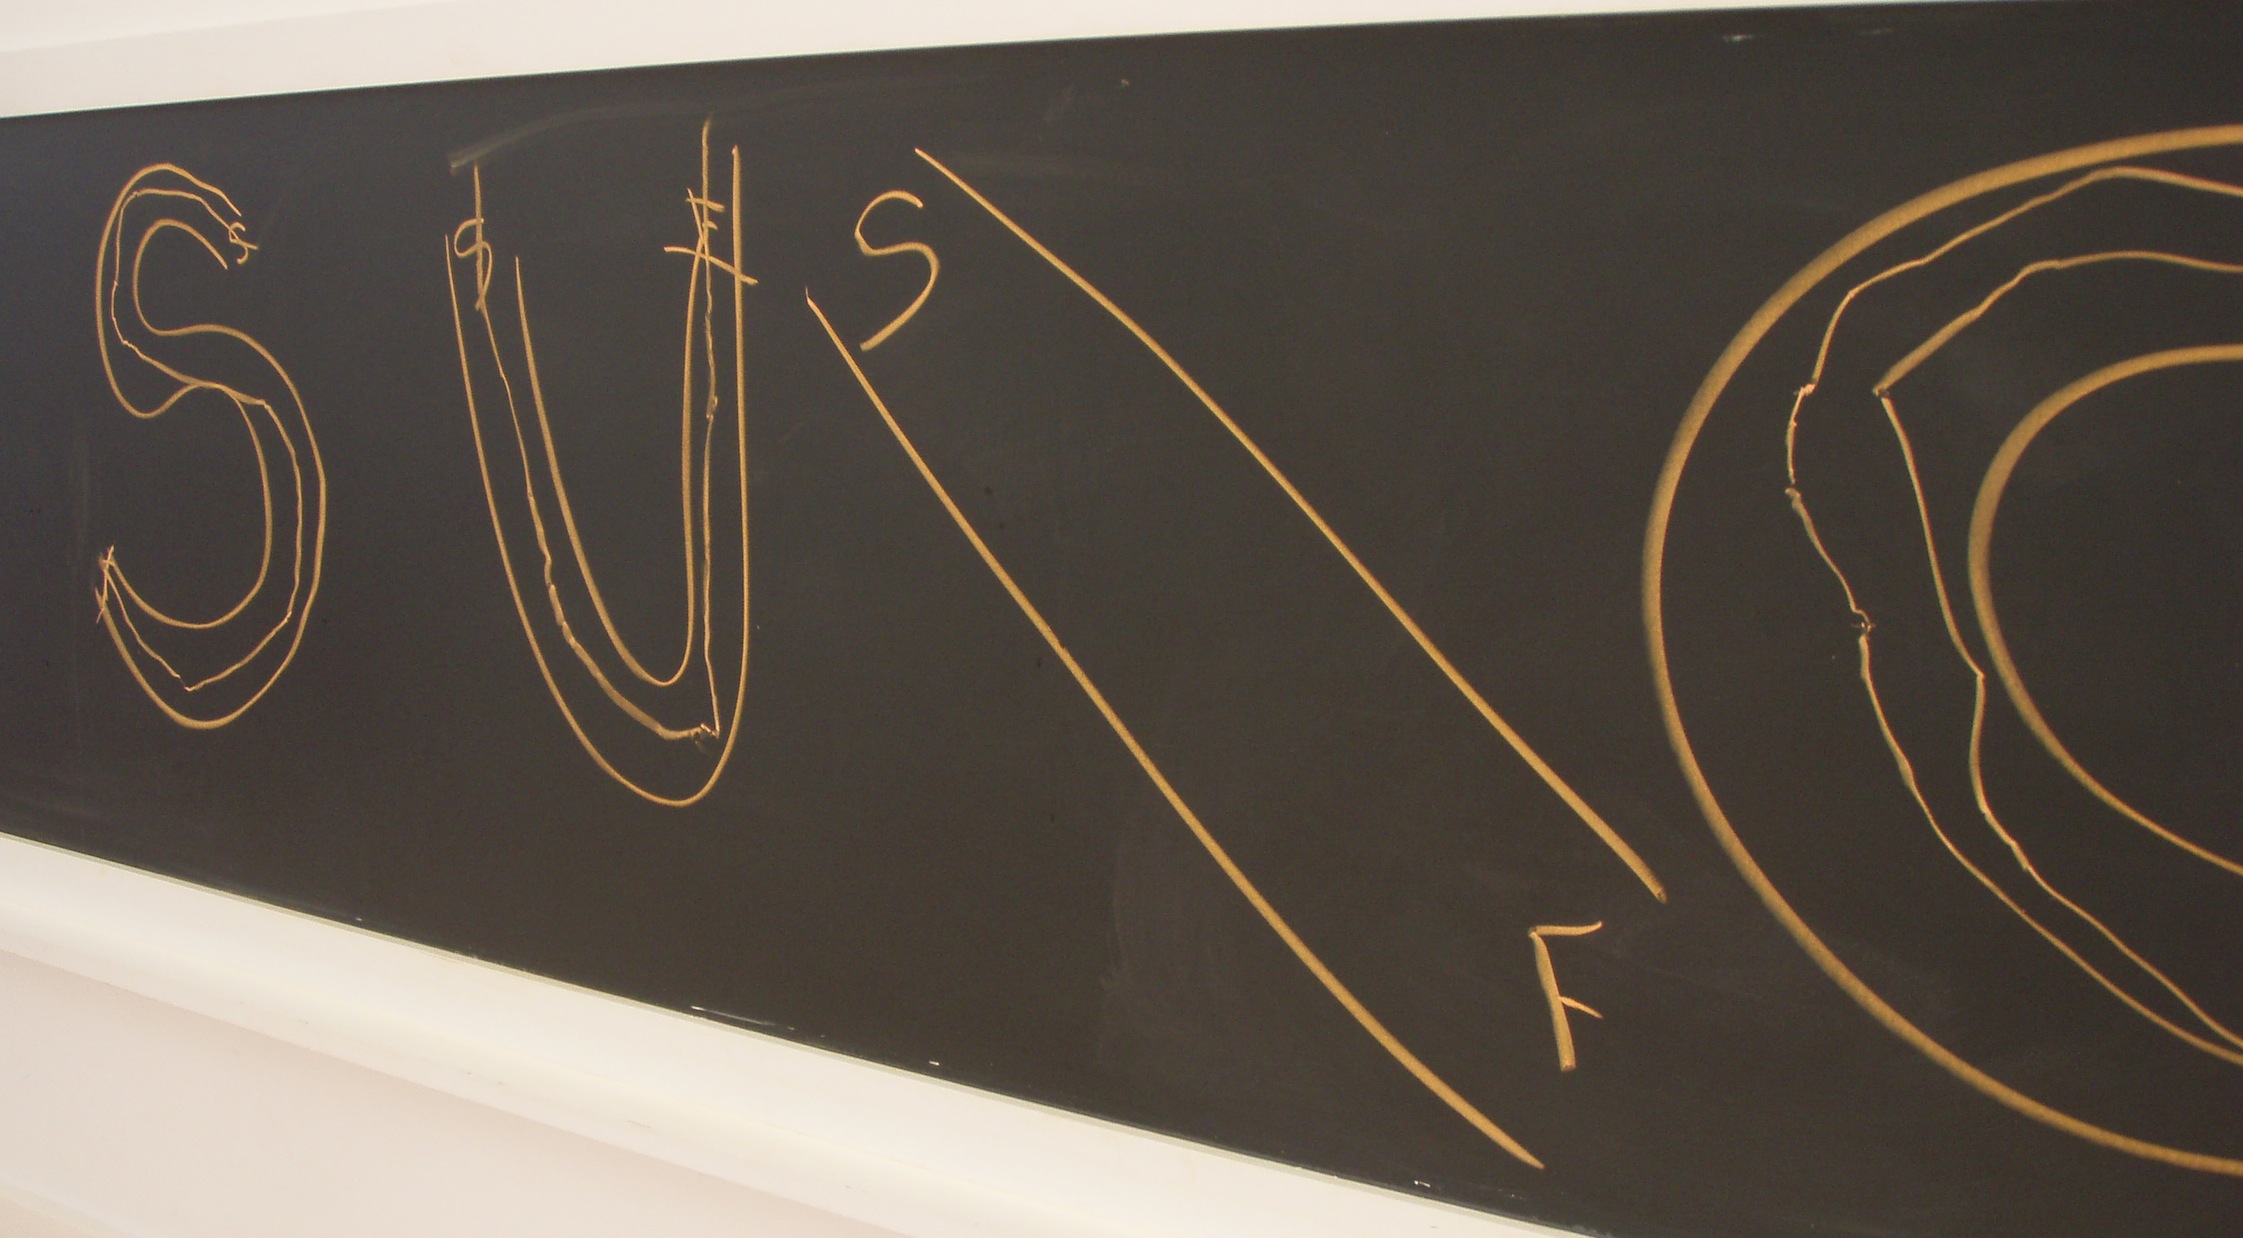
- Sidewalk chalk: Use on sidewalks and driveways. In winter use a large blackboard if available
- Large Markers: Tape discarded paper grocery bags to the kitchen floor or go to the local newspaper printing press and ask for the ends of the reams. They usually sell them for a few dollars if not given for free.
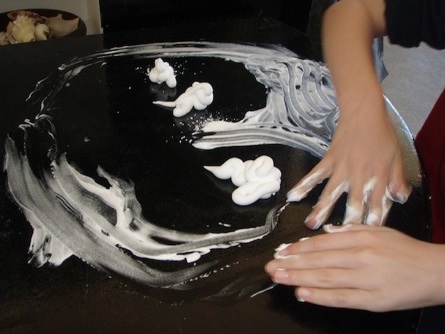
- Shaving cream in the tub and on the counter: This remains a wonderful activity, especially as the child begins to experiment with shapes, letters, etc.: drawn and easily erased.
- Painting with large handled paint brushes: Use an easel or tape to the wall in the basement, garage or someplace where it is easy to clean up mistakes. Try saving an old shower curtain liner to place on the floor. But beware, whenever there is paint, there will be paint spread farther than anticipated. Use water based at all times!
The most important direction ( and only directive) to early drawing is to encourage the following:
- DOWNWARD STROKES (rather than random up and down and avoid upward strokes)
- LEFT TO RIGHT STROKES (both of these establish the direction of most letters)
- CIRCLES BEGUN AT THE UPPER RIGHT HAND SIDE (2 o’clock position)
If these strokes are habituated, the child will have a much easier time learning to write. However, this should NOT be a drill, simply a suggested way to draw these lines and shapes.
Other creative activities:
- Sponge art (cut inch square sponges to dip in paint)
- Glue art
- Dot art (squeeze bottle of paint)
- Magnadoodles (drawing pictures on a plastic covered template with metal shavings)
What can you expect a preschooler to draw:
- 3 to 3 1/2 Copies crossed lines
- 3 1/2 to 4 yrs. Copies a cross and an approximate square
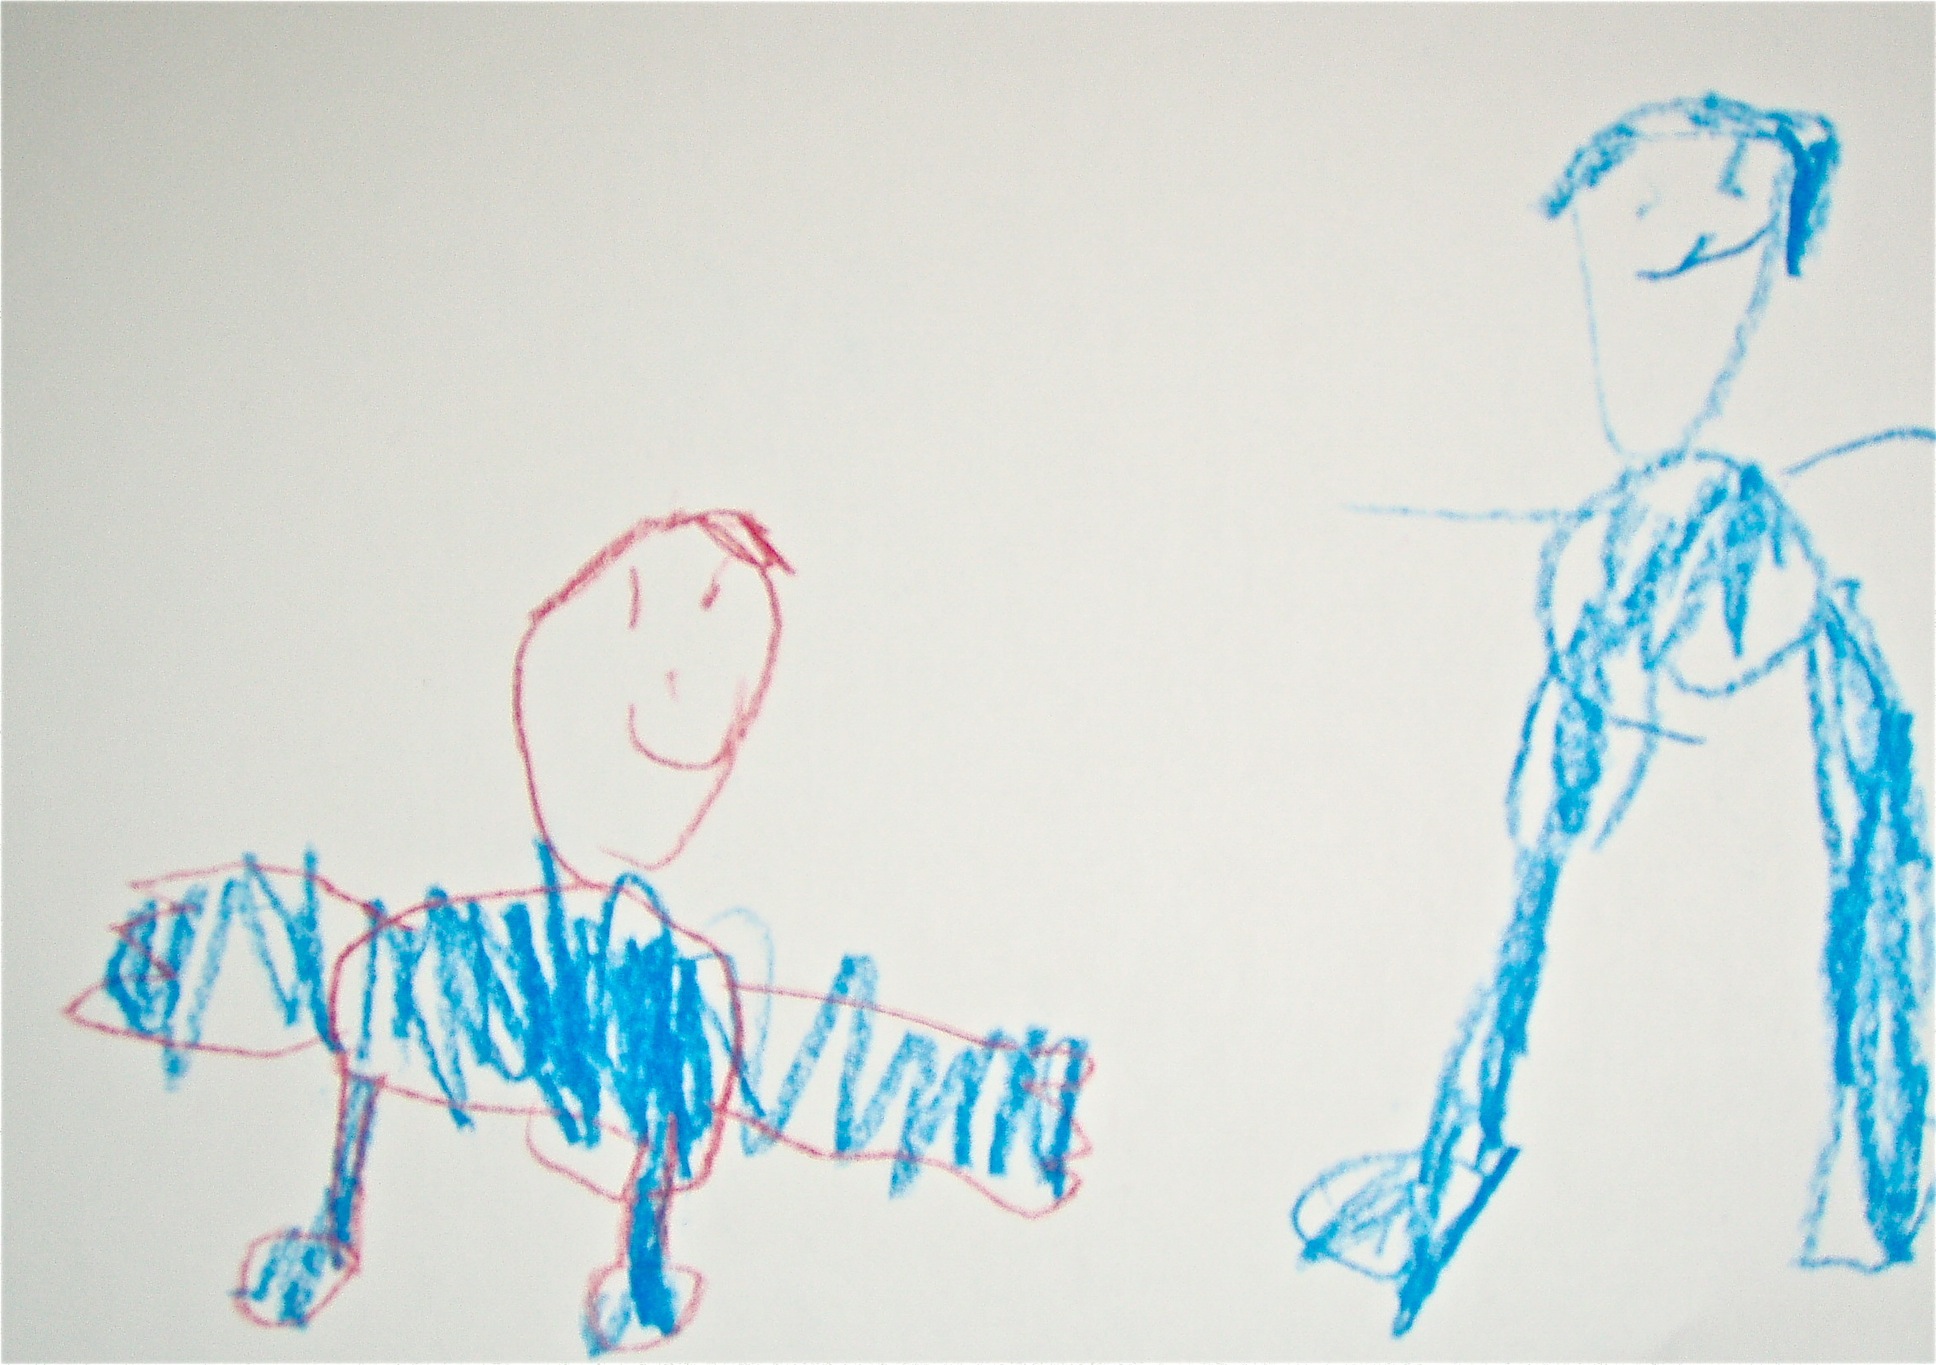
- 4 to 5 yrs. Draws a person 3-6 body parts and copies a square
Note the variability and large span in age; do not panic if your child hasn’t achieved a certain thing by a certain age. Go back and encourage pre drawing activities for a younger child and watch the progression. If the child struggles with activities for a much younger age then you might discuss this with the preschool teacher to see if there are any concerns.
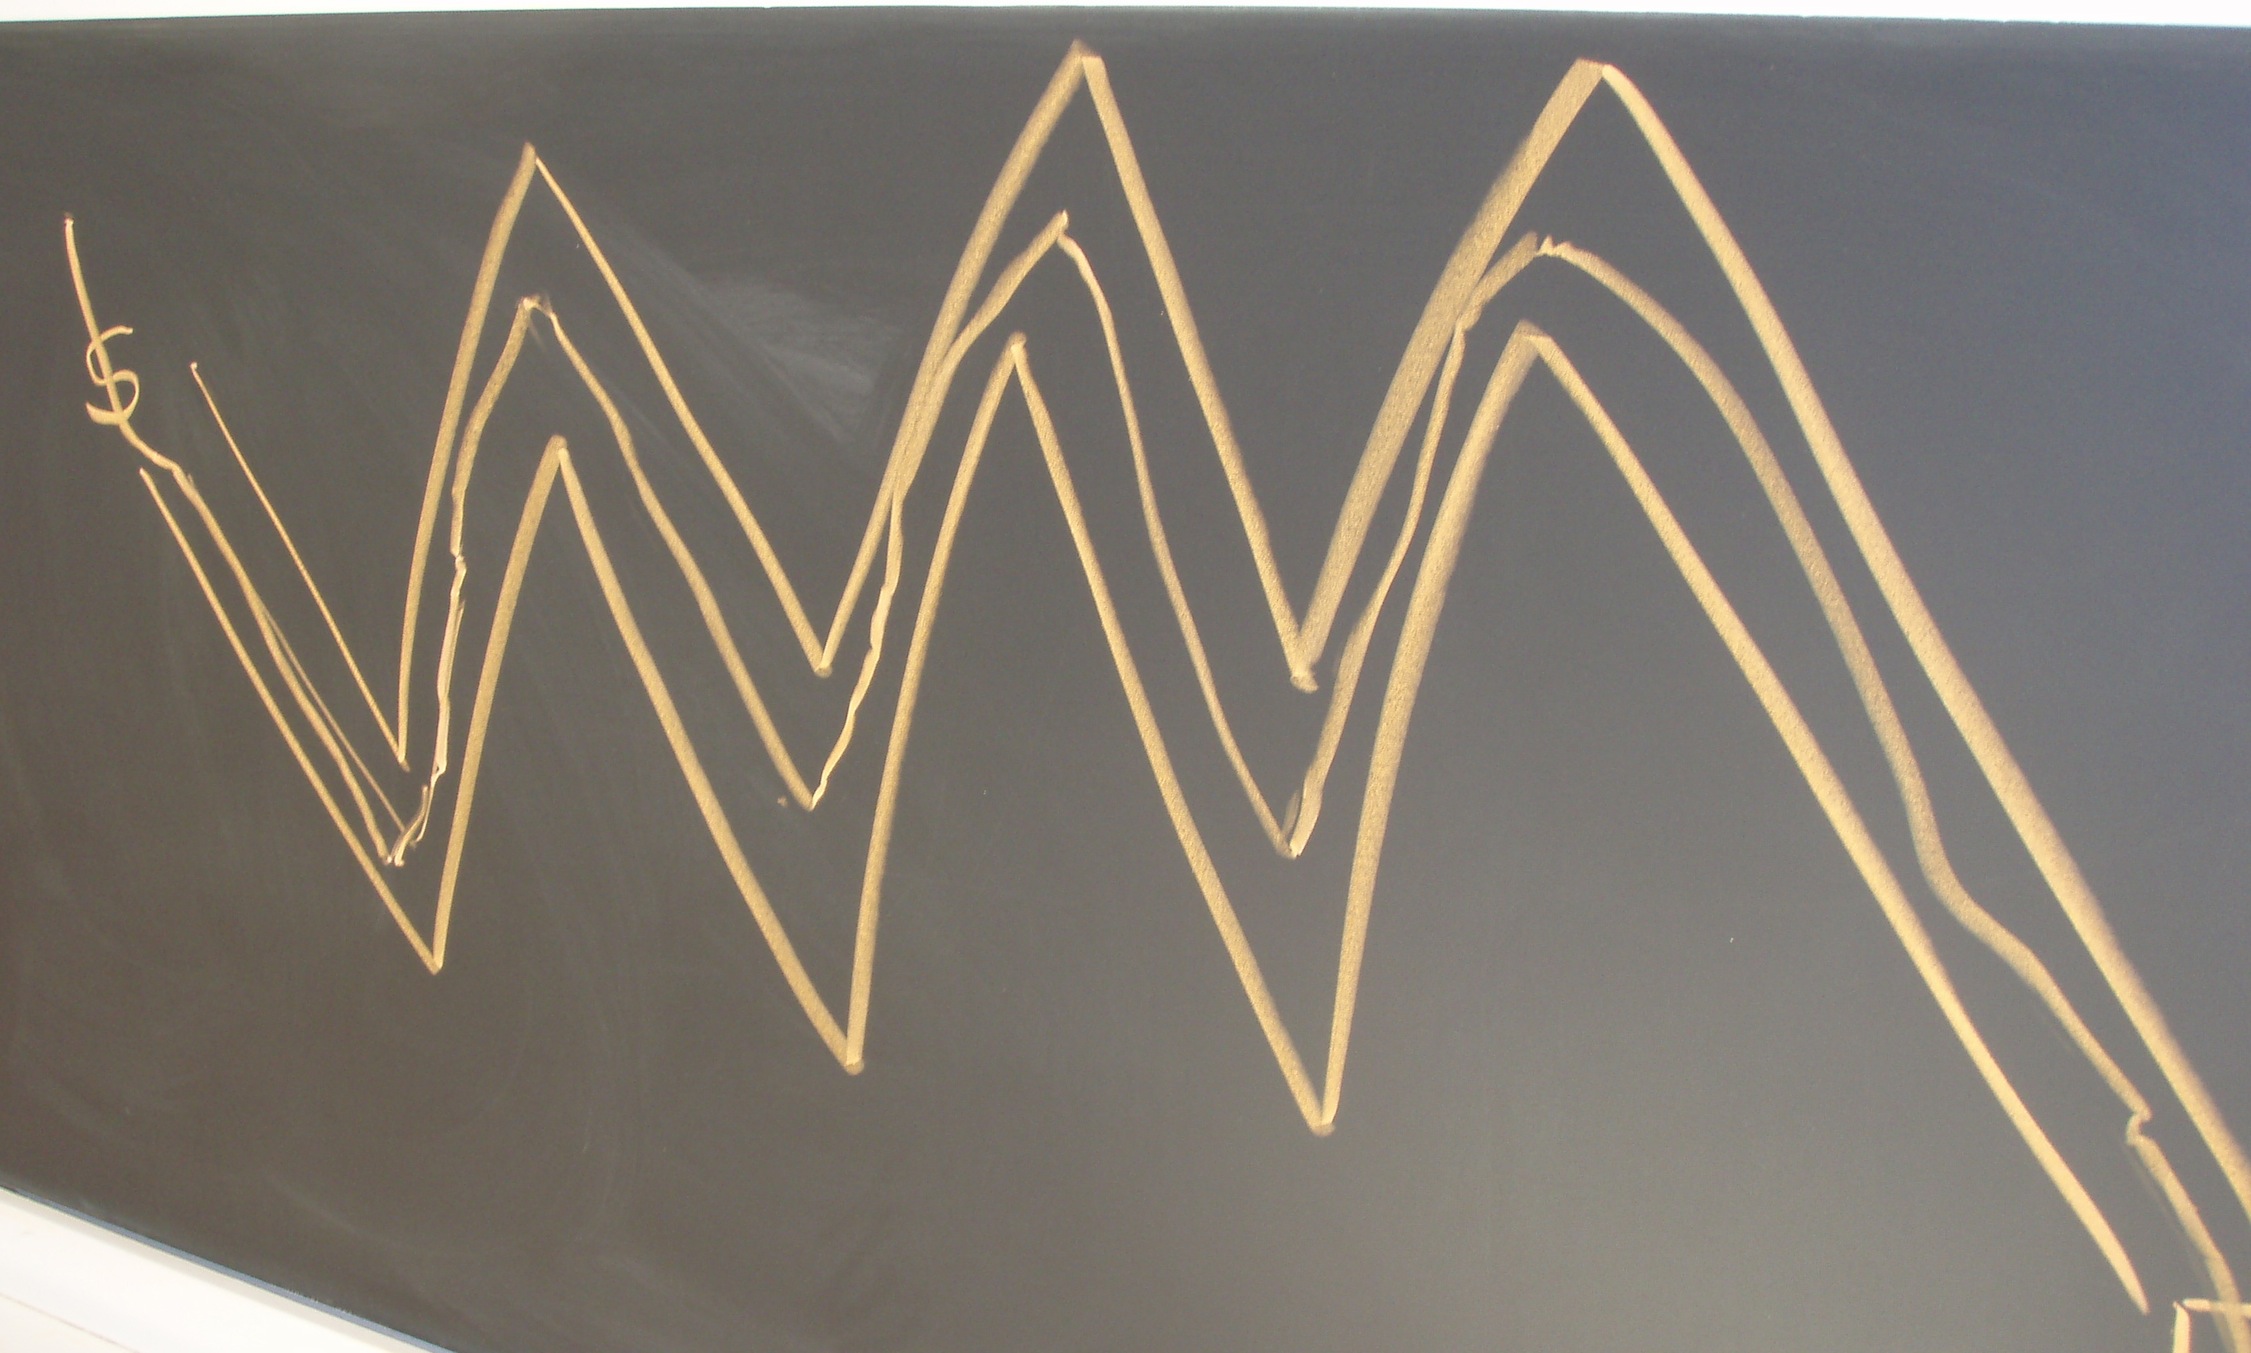
Samples of early drawing ideas to develop proficiency in basic strike work and direction
RR tracks (vertical lines)
Ladders (horizontal lines)

Chalk Roads
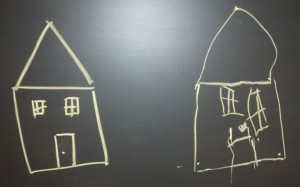
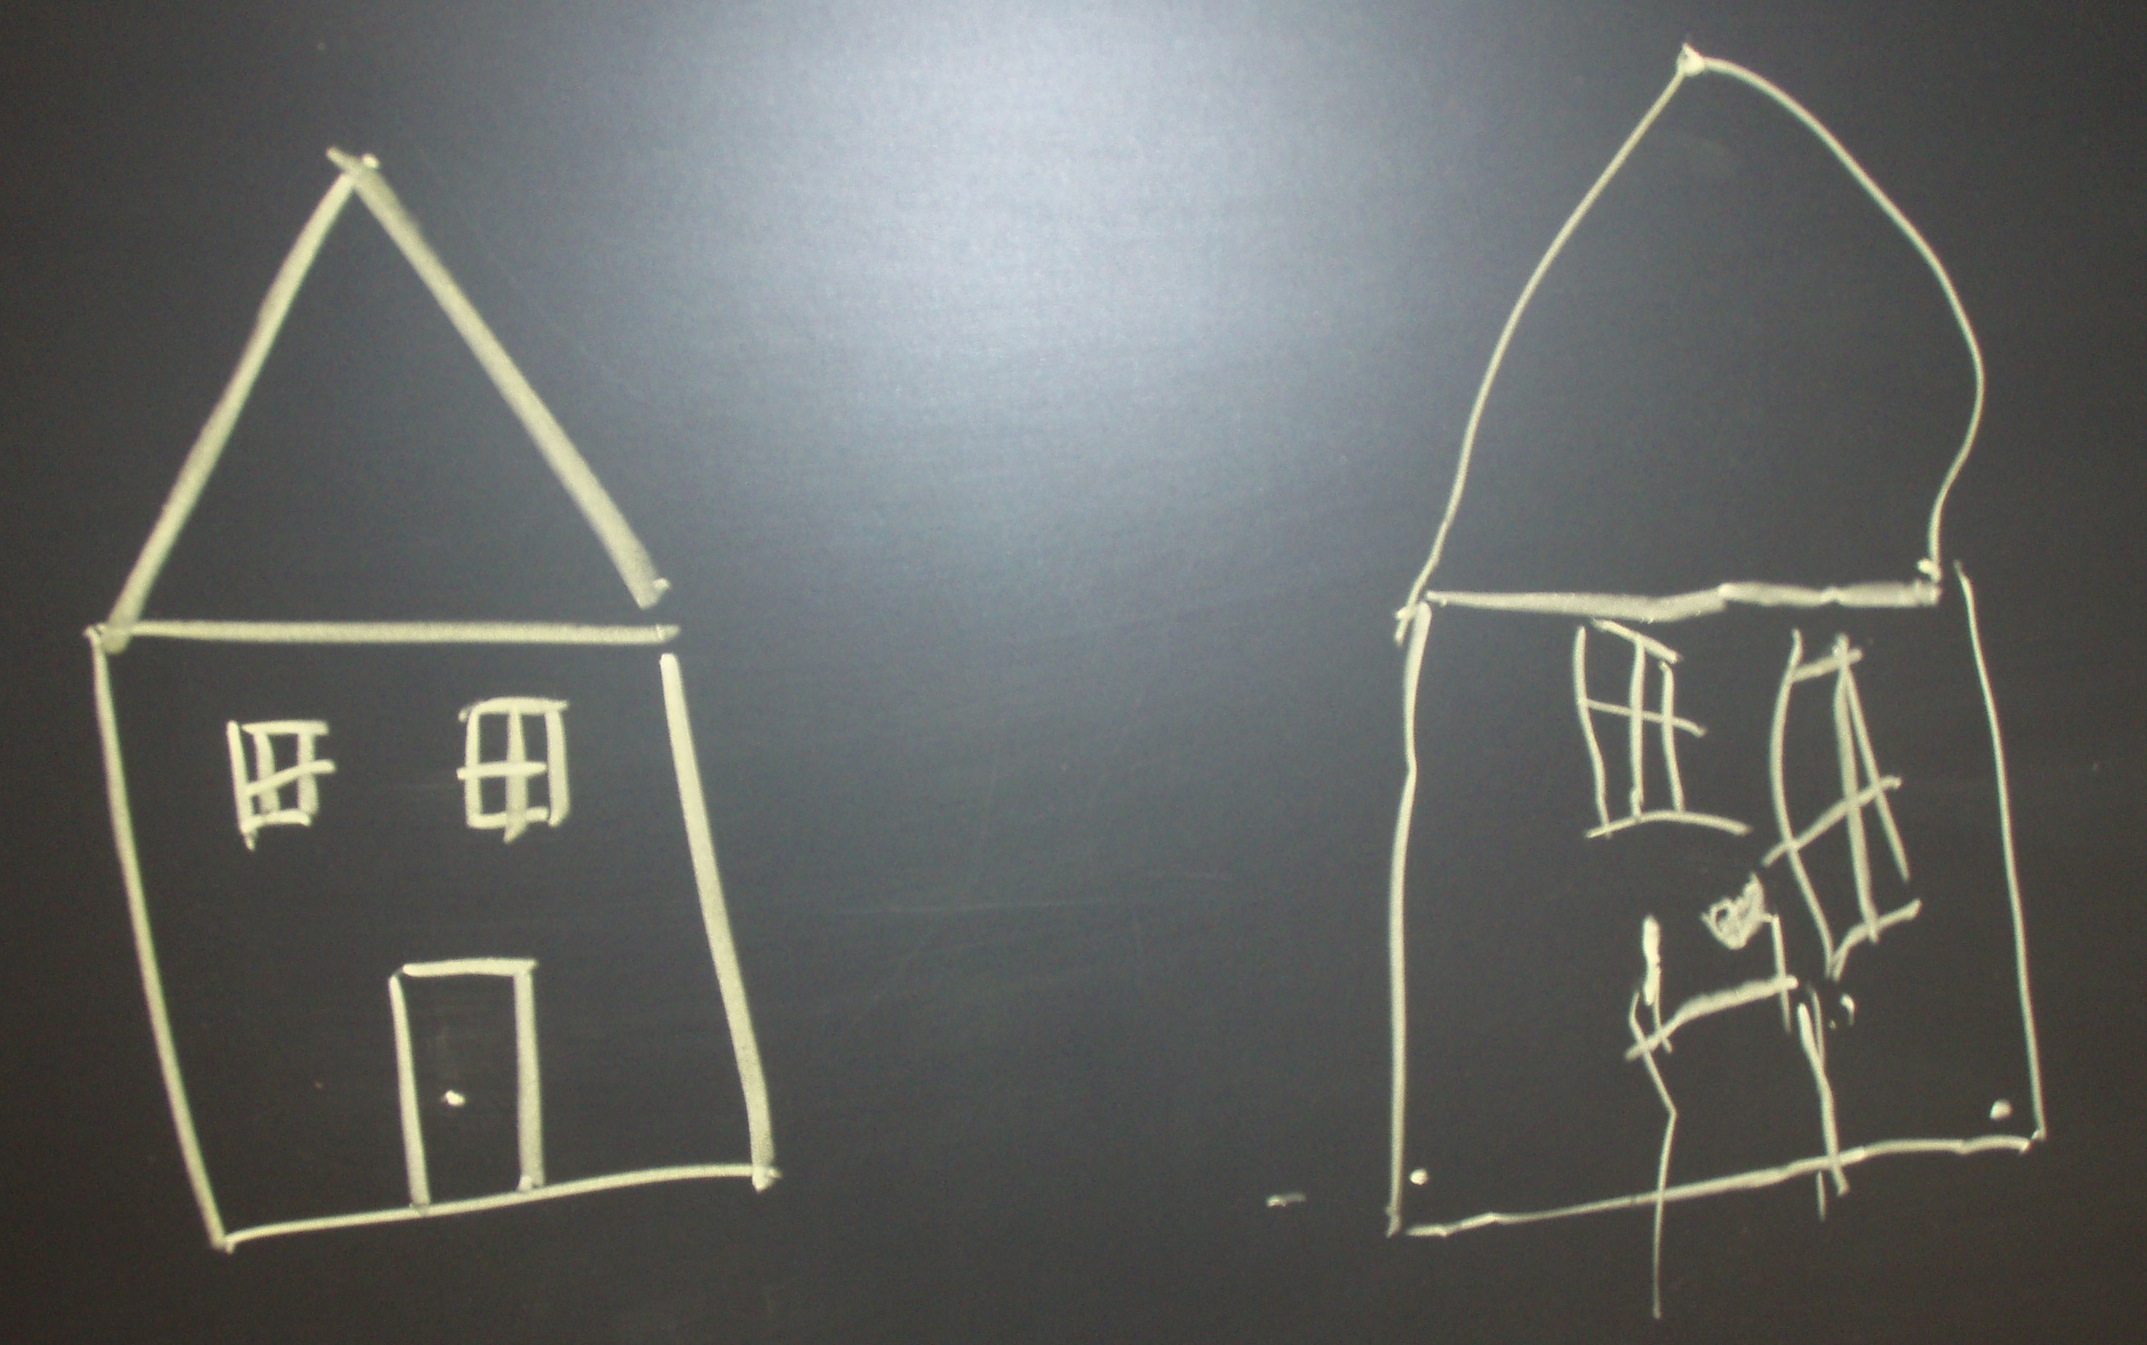
Combining shapes:
House

Simple person
Working on diagonal lines:
Race Tracks
Mountain/Tee Pee (or Ice Cream Cone)

Strategies to teach coloring inside the lines:
Teach the child to make an outline on the inside of the drawn line, then color in the direction of the outside line to create a “barrier.” The child can make a random design then color it in.

- With a younger child (3 ish to young 4) it doesn’t matter that the coloring goes outside the line. Large writing tools (crayons and large markers) make it difficult but are the better choice for developing hand
- With the older preschooler (4 1/2/ and onward) it is a good idea to ENCOURAGE accuracy but it is also important NOT to stifle the creative instinct. Teaching strategies described above might help, but if the child finds that difficult, allow more free form work. When developmentally ready, the child will reign in the flowing ribbons of color.
If there is one place to spend a few extra dollars, it relates to quality colored pencils. Once the child is attempting to draw accurately and color inside lines, it is next to impossible to do this with a box of well used crayola crayons.
Remember how lovely those 64 colors were when first opened and how disappointing when the flat or rounded ( at best) stubby chunks were retrieved from the plastic container.
Using SHARPENED colored pencils of good quality make a tremendous difference in execution and results for the child. Typically, the colored pencils sold at the local chain pharmacy will not work well. Going to an art store and buying professional quality colored pencils will give the child a much better sense of how to draw. Stationary stores may carry them as well, but when the clerk steers you to the kiddy section explain that you are looking for professional or artist quality pencils.
Why is this important? The “feedback” or feel of the pencil is important in the learning process. When the pencil is blunt and the “lead doesn’t flow well,” the accuracy usually is not that good and the child does not get a good “read” or feel of the movement in creating the design.
Thoughts on coloring books: Why? Seriously though, most coloring books are too difficult for the children they target, and once they have the motor control to color in successfully, they are able to create their own pictures. If you want to have coloring inside the lines practice, draw a few shapes or simple objects and have the child color these. So save your pennies and spend the savings on good quality colored pencils.
If you must succumb to coloring books, look for very simple pictures with few details.