I have been making gingerbread houses as a holiday celebration activity with the students for many years and it has become almost legendary. The children are thrilled. While it looks like all fun (and is!), I glean a great deal of information from this holiday activity.
Benefits:
I use the activity as an assessment of each child’s skill level.
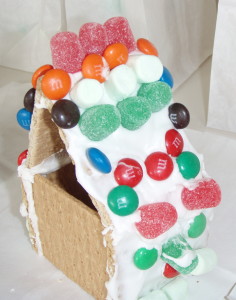 How well a child can organize the materials
- How they manipulate the small pieces
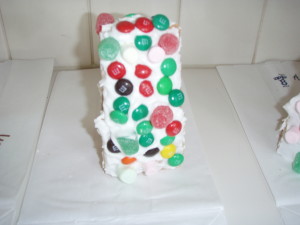
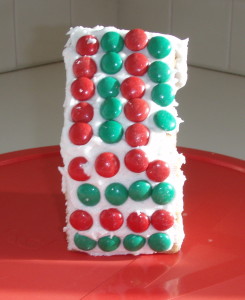
- I look at the level of sophistication of the design made
- How well the gooey frosting is tolerated gives me an idea of a child’s tactile preferences
- I look at the child’s ability to follow directions.
I also use the time for socialization. In the process of chatting, I observe:
- Whether the child can talk and work at the same time
- Be respectful of others, join in conversation, stay on topic, etc.
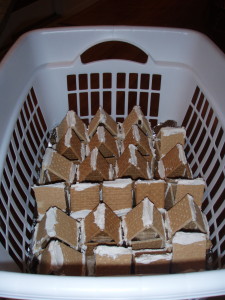 Teachers still have several days to go before vacation. Trying to teach anything as we ramp up for the holiday is next to impossible. The sugar driven, sleep deprived, over excited students “somehow” find it hard to focus. The constant change in routine due to choir practice, parties, etc. adds to the commotion. Rather than fighting the tide, this activity will channel all that unfocused energy and your students will love you for it.
Families enjoy this activity as well. This is a great pre-holiday project, especially if snow is on your way and you are stuck indoors. Children are very proud of the end result. The enticement of all the colored candy is a delight to them. Parents set the parameters of what they are allowed to actually eat.
Directions:
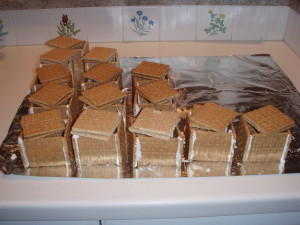 For classroom implementation, the project requires advanced preparation.
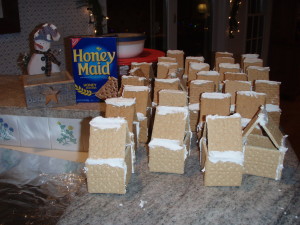 For younger children, definitely make the house structure in advance. Older children (2nd grade on) they can construct the houses independently. Use of a small milk carton to build around helps keep the structure intact.
- Use graham crackers. In my experience, this is one case where generics do not work as well as the brand names. Any brand is ok. Generics tend to crumble so you have a lot of waste.
- Begin making the house by speading Royal frosting* on the edges then gently pressing walls (cracker squares) together. Make sure this dries before constructing the roof.
- I always do this part ahead of time. It takes a few hours for the frosting to harden.
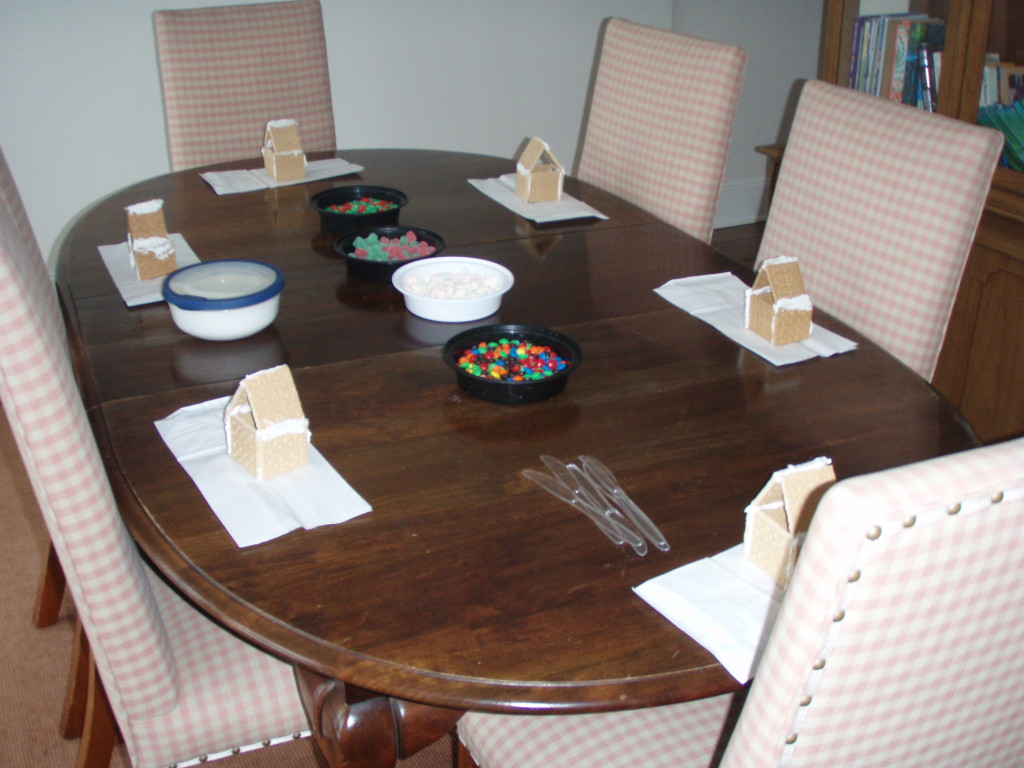
- For groups of children, I set up the materials in advance. For younger children, I spread the frosting on the sides just before they begin decorating. Older children can do this independently, but be prepared for a mess.
- I set ground rules on obtaining candy. Because I do what I do, I make the children use only their thumb and index finger to graps each piece of candy, thereby reinforcing the use of a pincer grasp. It also prevents fisting large amounts of candy (especially helpful for children with poor impulse control!).
- It is always interesting to see what type of design or pattern children create; whether they plan ahead or make up a plan as they go, or randomly stick candies on the frosting.
*Recipe for Royal Icing:
- 3 ounces egg whites
- 4 cups confectioner’s sugar
- 1 tsp cream of tartar
In a large bowl, mix egg whites until frothy. Gradually add confectioner’s sugar. Mix on a low speed until the sugar is shiny, then beat at a high speed until the frosting turns stiff, making peaks when scooped. If not used immediately, place in an airtight container or the frosting will harden.
Note: Because raw eggs are used I do not recommend eating the frosting.
