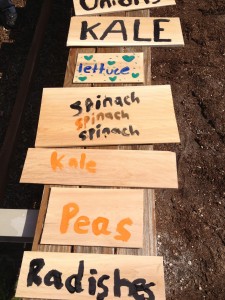
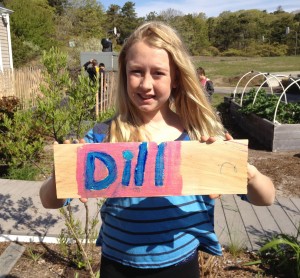
The School Garden is thriving and the students want to broadcast their success! 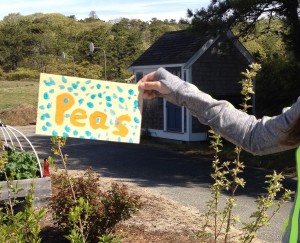 What better way than to make signs that add color and easy to read labels so all can see and enjoy the fruits of their labor.
We decided to have the older grades embark on this project, giving them the opportunity to express their creativity in the process.
It would be easy enough to adapt this to younger grades. Creating signs provides practice in writing and drawing. Most important, it’s fun!
This can be done in the dark, cold days of winter, in anticipation of a spring harvest. We decided to wait to see what grew in the garden and then celebrated a beautiful spring day, painting right in the garden.
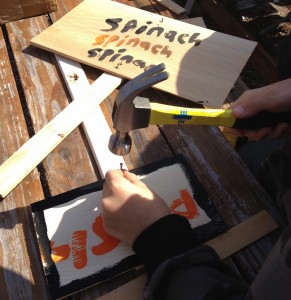
Constructing the signs requires spatial reasoning and basic mechanical skills.
Equipment:
 Paints (Tempra or Acrylic)
- Paint Brushes
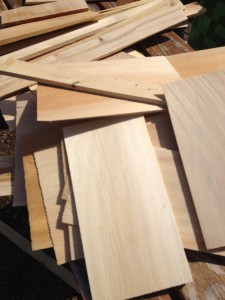
- Wood Shingles and Shims (We used left overs-donated by a teacher)
- Hammer and nails
Directions:
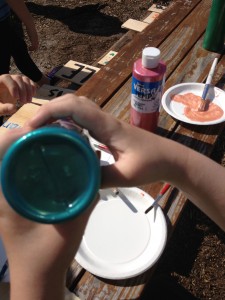 Paint the wood (shingle) with words, pictures and/or designs.
- Let the paint dry.
- After the paint dries, nail the wood shingle to a 1 inch wood shim.
- Review all safety precautions necessary when using tools.
- Provide close supervision as the nailing and hammering proceed!
Benefits:
 Add a new dimension of creativity to the gardening process
- Reinforce identification of plants as signs are placed strategically in the garden
- Creative process to reinforce writing and drawing skills
- Spatial reasoning required when constructing the signs
- Development of mechanical skills, which require bilateral, eye hand and fine motor coordination.
This post reflects the partnership and creative collaboration between The Motor Story, Sustainable CAPE and Truro Recreation.
No Pings Yet